How to Create a Venmo Account: A Step-by-Step Guide

Digitization is everywhere these days, and its pace doesn’t seem to slow down. Numerous things that used to be time-consuming or complicated now take just a few clicks. This is especially true for money transfers. With online payment services like Venmo, sending and receiving funds from friends, family, and businesses is as easy as tapping of a button on your smartphone.
You still don’t know what Venmo is, and you’re not a Venmo user? Want to learn how to set up a Venmo account without a hassle? Read on, and we’ll take you through all the steps of the registration process.
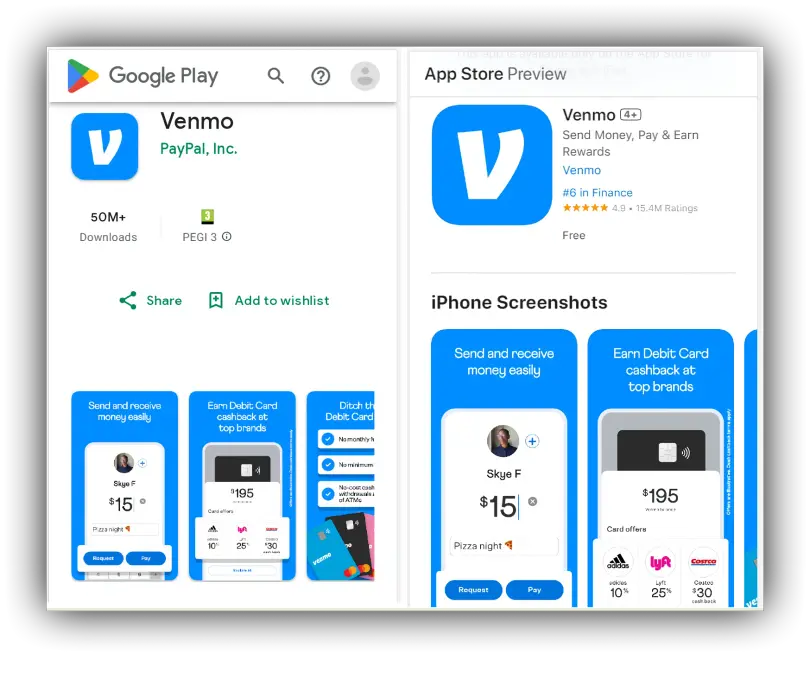
Download the Venmo App
So, how to sign up for Venmo? The obvious first step is to download the app from Google Play, App Store, or another OS-dedicated app market. You can install Venmo on your smartphone or tablet. The app is currently available for both iOS and Android devices but will surely be ported to their competitors in the future if those emerge.
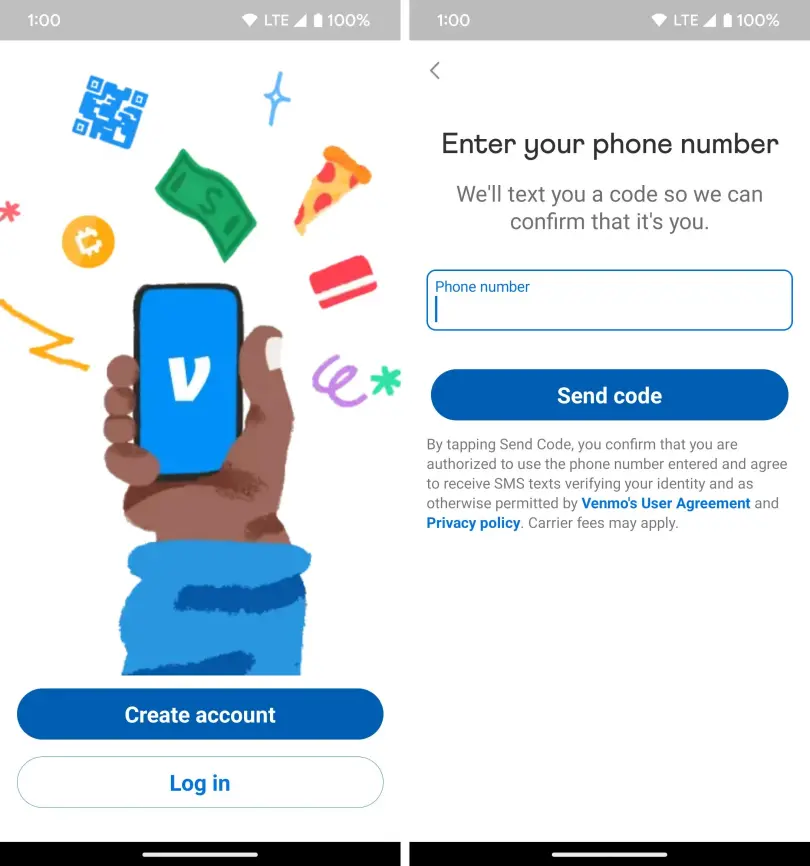
Create a Venmo Account
Open the app and tap on “Sign up” to create a new profile. Even if you don’t know how to create a Venmo account, the process is pretty straightforward: you’ll be prompted to enter your email address and phone number and create a password. Make sure to use a valid email address and phone number that you have access to, and set a secure password containing both numbers and symbols, with no less than 20 characters long (we’re speaking finances, after all).
Verify Your Phone Number and Email Address
As you enter your personal data, you’ll be required to verify it, since Venmo requires some proof that you’re a real person. The system will send you a verification code via SMS. Locate the message in your phone’s inbox and enter the received code as prompted by the app. As you sign up, a verification link will be sent to the email address you’ve entered previously. Click it to confirm your email. Note that you’ll have to pass the verification procedure each time you update your email.
These steps answer the question of how to set up Venmo securely and prevent unauthorized access, scams, and hacking attempts.
Link a Payment Method
Once your profile is verified, you need to link a payment method that you’ll use for adding money to your Venmo account. The app accepts various payment methods, including bank accounts, debit cards, and credit cards. To link a payment method, simply tap on the “Me” tab in the app. Then, select the “Wallet” section, choose “Add a bank or card,” and pick “Bank” or “Card.” You’ll be asked to provide your bank account number or card details, depending on the payment method you choose.
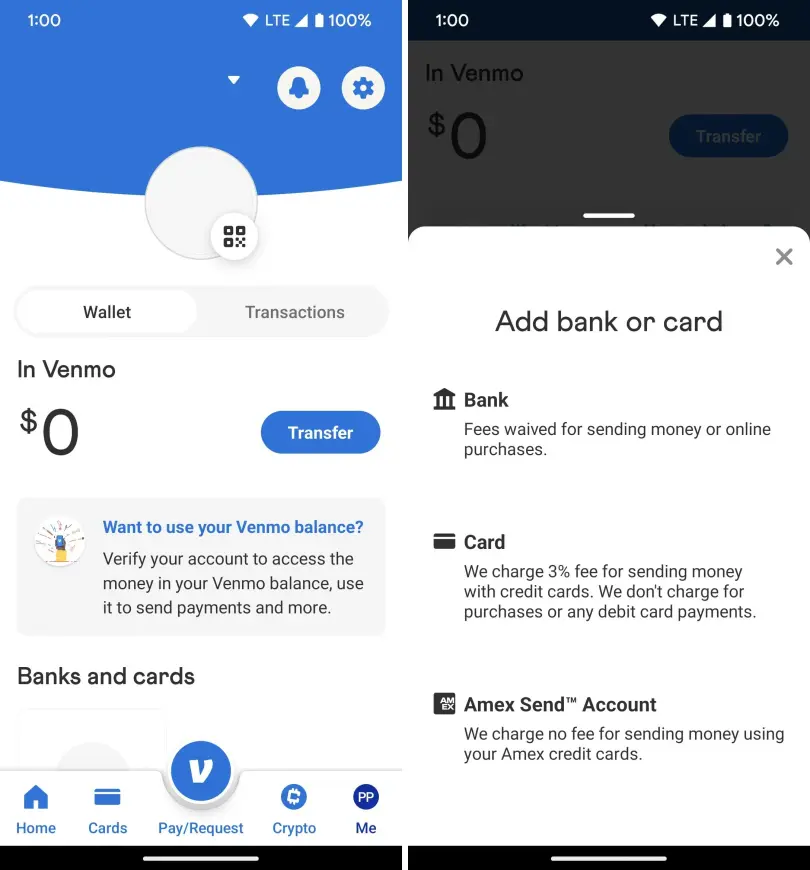
Can someone hack your Venmo account? Well, yes, and that happened quite a few times in the past. To avoid this, you will also be asked to verify your bank account by using either instant (via Plaid) or manual verification (using micro transfers).
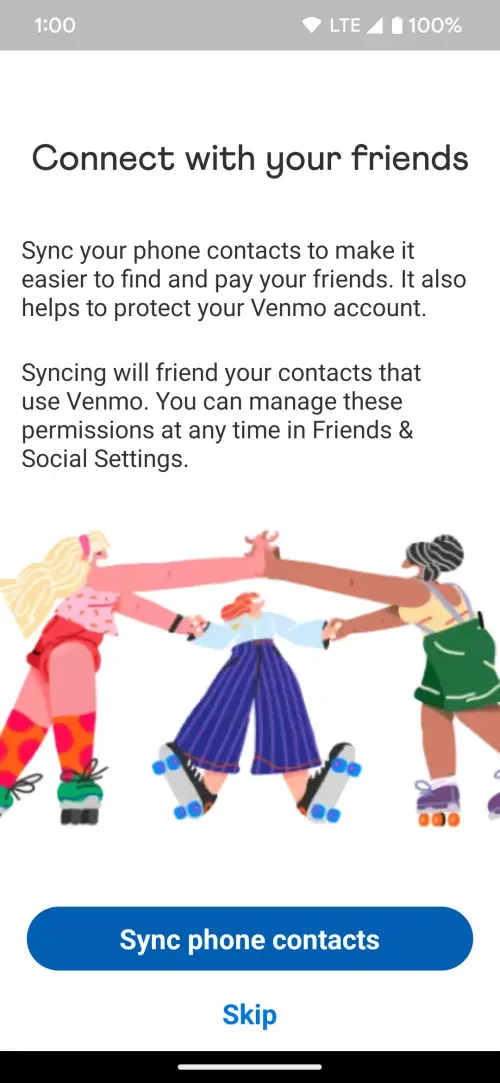
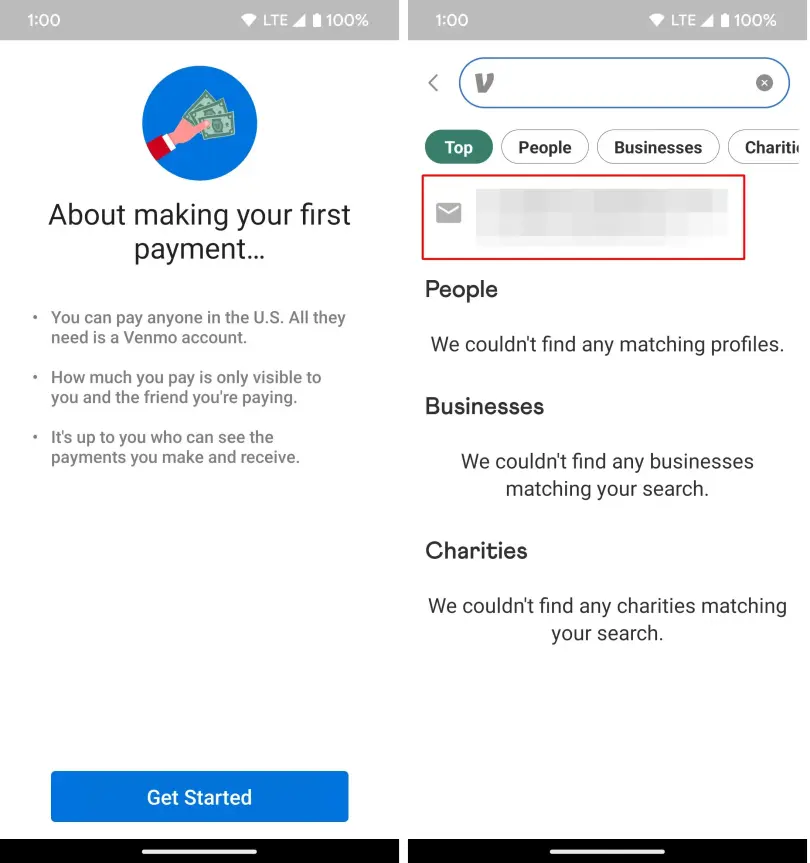
Add Friends and Contacts
Adding contacts is an important step to make sure your further payments will be forwarded to the intended recipients, and in fact, it is one of the major Venmo pros. As you register your profile, you’ll be asked to provide access to your phone contact list. The system will automatically identify any contacts already using the app and add them to your friendlist. It’s worth noting that once you complete the registration, you’ll be added to their Venmo contacts, too.
Start Using Venmo
Once your account is fully set up, you’re ready to start sending and receiving money. To complete your first transaction, just tap the “Pay or Request” button. Enter the recipient's name or phone number and specify the amount you want to send or request. Venmo transactions are typically processed quickly. You can transfer the balance directly to your linked bank account or use the funds to make purchases within the app.
If your profile is working and you don’t see any account freezes, you can start working with the payment system.
How to Open a Venmo Account for Business
When setting up your individual Venmo account, you get an opportunity to open a business profile as well. So, if you ever thought about how to get Venmo for your company, you can hit two targets with a single stroke. It is worth noting that the regular Venmo transfer fee differs from Venmo fees for business. You can learn more about commissions and Venmo limits in our previous articles.
After your profile is registered and verified, go to “Settings,” choose the “Business” section, and click “Get Started.” The processor will automatically paste all your personal data from the main account, including the verified email and phone number. Still, you’ll have to enter your SSN or EIN for tax purposes, provide a short description of your business, and specify a mailing address you use.
Don't forget to check our articles on how well Venmo compares to its closest competitors: Venmo vs. Cash App, Venmo vs. Zelle, and Venmo vs. PayPal!
Final Thought
Setting up a Venmo account is quick and easy and won’t take you more than a few minutes. Just make sure you have all the required personal or business info at hand. Whether for individual or commercial purposes, Venmo is great for making peer-to-peer transactions simple and hassle-free.